Showing posts with label Decorating. Show all posts

Friday, September 20, 2013

Insta-Fri


The week has flown by for me. It's been my first week at work and the training has been exciting, fun, intense and challenging all at the same time. I can't wait for the weekend because my Hubby will be home and maybe I'll get to sleep-in once! This weeks Insta-Fi was from last Friday when I did a little window shopping in the downtown area. We're renting right now and dreaming of owning a home. I have decorated our rental as much as I can without putting up curtains, painting, or doing any major revamping! I have so many things I'd like to do, but for now it will have to wait. There's nothing to keep me from dreaming though. Do you ever play the game if you're at a store and you think, "What if I had unlimited funds and owned my dream house, what would I buy?" I love playing this game, because it helps me decide what I really like. I have a tricky time deciding what I really like. I like western, I like french country, I like modern, I like.....oh so many styles. Here are few finds which I picked out last week during my window shipping tour.  The pillows were a warm golden color and had a texture almost like burlap. These were so soft and squishy, perfect for a comfy couch. The ottoman was an awesome faux cowhide, I love the warm brown, white, and black color. The table and cabinet where similar in style so in my "dream world" I wouldn't actually buy both so it's not too matchy, matchy. You can't really see it in the picture, but the wood was a smooth un-varnished with a turquoise paint texture over it. Almost like it was painted turquoise at one time and then was sanded off. So far I've determined I believe my style is sophistication that's a bit rough around the edges at times. Kinda of like me.... ;-) What's your Insta-Fri from this past week? I'd love to hear about it!

Love, 
Bethany V.


Wednesday, September 18, 2013

DIY Miniature Garden

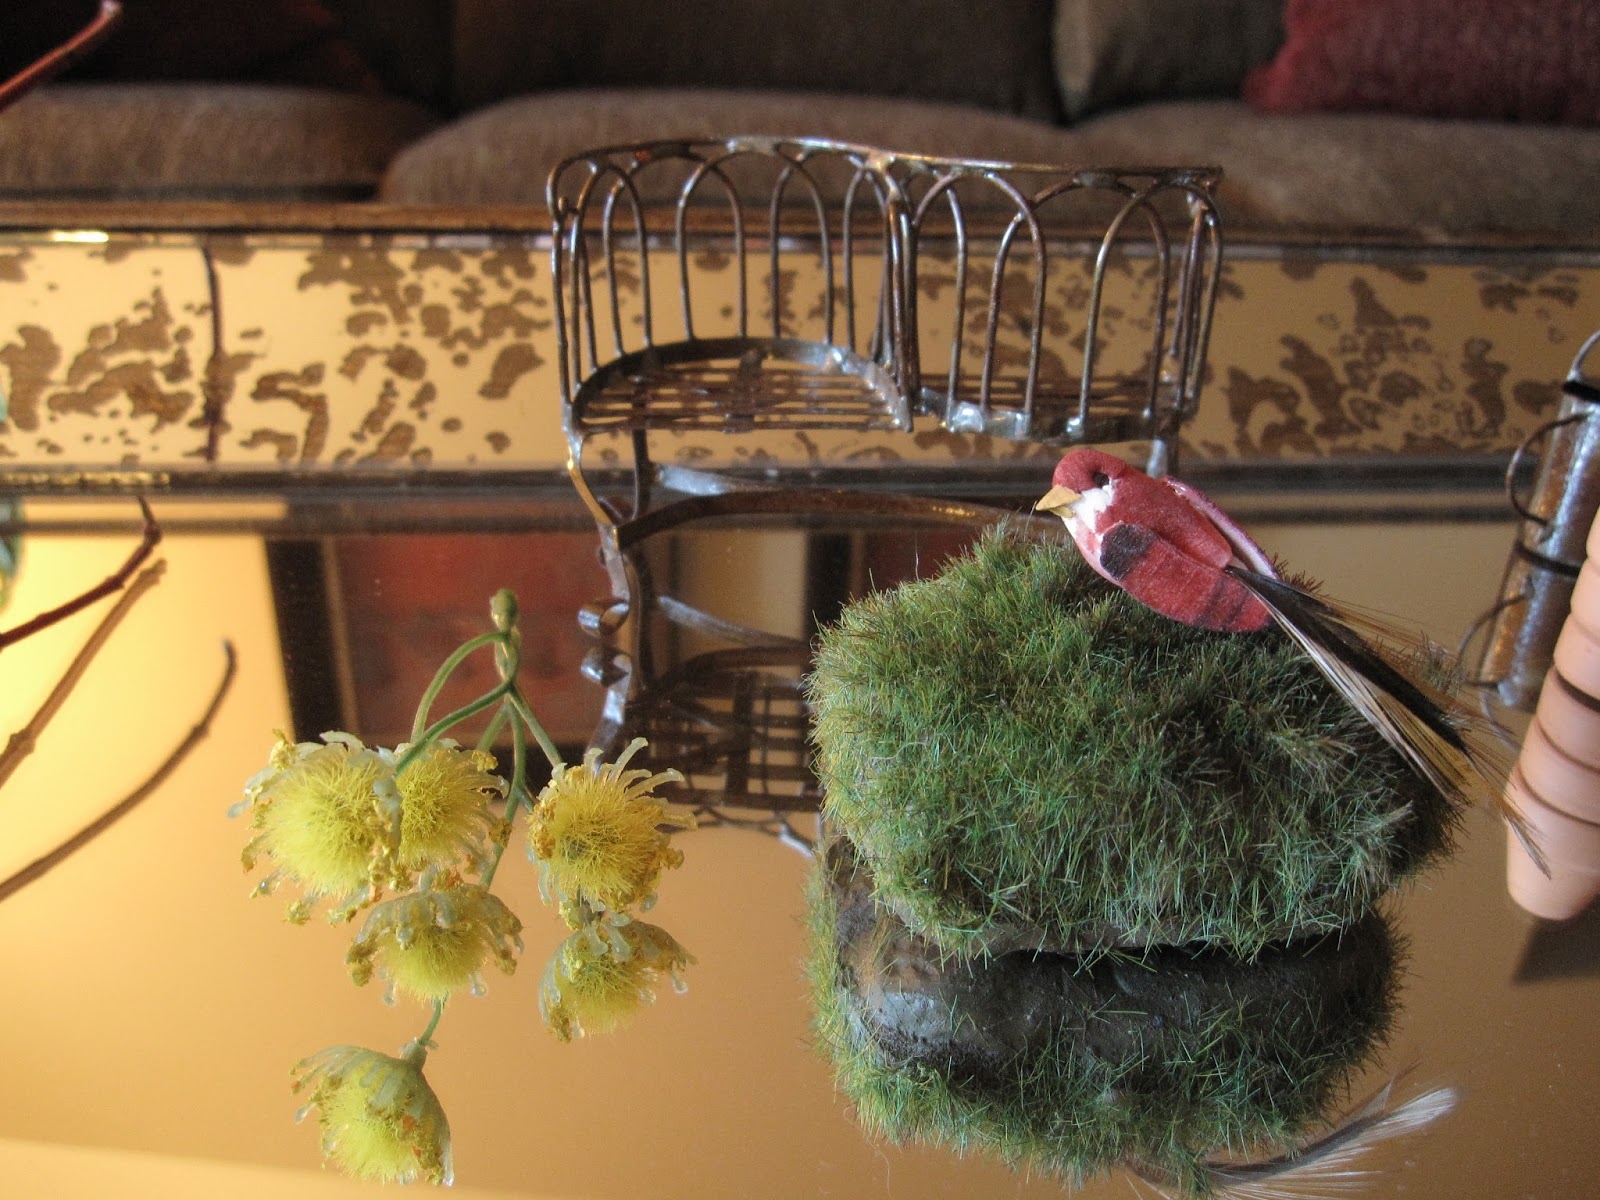
Ever since I was a child, tiny things have always fascinated me. My Grandma Jean had a little curio cabinet with all sorts of little animals and I absolutely loved it as a girl. There's something so darling about seeing something usually termed as "large" or "big" and being able to hold it in the palm of your hand. As a middle schooler I had dollhouse which my Grandpa had dug out from his neighbor's trash. He refurbished it and gave it to me as a present. I literally spent hours playing with my Victorian Playmobile (best kids toys ever!) and making all kinds of tiny articles for them. Such as food made out of Sculpey Clay, tiny bed sheets from scraps of material, cutting out little pictures from magazines to hang on the walls.....and so on. Oh, yes I was into it. Okay. Back to the future, oops, present. Lately I have been seeing a lot of miniature gardens both real and faux popping up in gift stores, garden centers, home decor stores, and of course Pinterest. My mom had a perfect spot for one. She asked me to make a faux mini garden for her front room coffee table. Here's what you'll need for a miniature garden:


A planter for your garden. This could be a miniature green house like the one I purchased at this store  or it could be a simple low cut pot. Basically anything that will showcase your miniature garden in style. ;-) Choosing the size of your container will dictate how big our small you want the garden to be. 


Obtain some small leafed faux plants from your local craft store. Baby ferns, small vines, smaller flowers that you can break off etc. I even cut a couple of red dogwood branches from the garden, entwined it with vines I purchased and used it as a tree.  


You can find miniature pots at a craft store like Hobby Lobby (don't forget their 40% off coupon) or Michaels. I found a small loveseat bench at a local shop downtown, watering can, a few faux succulents, and a little turtle. Basically anything that catches your eye or you fall in love with, go for it! Home/garden decor stores and craft stores will be your best resource.


You will also need some moss; a moss mat and some loose moss, a small piece of cardboard, sissors, wire cutters, and a glue gun. 


Measure and cut the cardboard to fit your container. If you have a low potted planter, place and glue floral styrofoam in the bottom to raise up your cardboard piece. Cut the moss mat so that it has a 1/2 to 1" excess around the edges of the cardboard piece. Taking the cardboard, place and glue the loose moss on top. This will give the illusion of the "ground" having some and texture so it's not completely flat. Turn the moss side so it's facing down on the wrong side of the moss mat (see picture). Glue up the edges around the cardboard. Ta-da! 


Place inside your planter and now the fun part begins! Begin setting up your garden with the miniature materials you've purchased. Use the wire cutters to cut any materials down so they are smaller. Once you have things how you want them begin discreetly glueing to your base. I even added some dirt spilling out of one of my pots and though you can't see it, there's a small ladybug climbing up one of the ferns. 


And you're done! Place in an area where you will enjoy it daily and where the light will showcase your work. Revel in the fact you will never have to water it! ;-)

Love, 
Bethany V. 

Tuesday, December 18, 2012

Milk Glass Bottle DIY


 Do you ever have an obsession for something?  I have this white/soft white obsession with dishes, vases decor., etc. I absolutely adore milk glass vases, you get the picture. I recently spray painted these cute Owls from Hobby Lobby (clearance from the fall section) into snowy owls for the holidays. 


They turned out pretty good and got me thinking of other things I could spray paint......hmmm. My sister-in-law gave Mr. B and I a gift for our wedding where we open up a new gift every month! It's been really fun and has spread out our wedding cheer! I love opening presents! In October, we opened a pumpkin carving tool set and apple cider. I immediately fell in love with the apple cider jar and couldn't wait to use it for decorating. Since I had the white spray paint from the owls I decided to paint the jar and see what happened. Here's what I used. 1) One apple cider jar, glass (any type of unique jar would work) 2) Krylon Fusion spray paint, in satin. 3) Newspaper.


I did several layers of paint. The one thing I love about this spray paint is how quickly it dries. I'm
kinda of a quick craft person and it drives me crazy if something takes forever to dry.  


Finished Product - ta-da! 


I haven't quite decided where I'm going to put it, and if I'll keep the sticks. We'll see......
(P.S. I raided a deserted bush in a deserted swamp area on my way back from the Post Office today, lol.)

Love, 
Bethany

Monday, December 17, 2012

Delights of Christmas


I love this time of year....the preparing, the decorating, the baking the shopping, you name it! This year is my first Christmas away from home (at the present) and as a married woman, no less (so strange). I have had fun decorating our home and creating a warm fuzzy Christmas feeling! Last year I remember agonizing over what to give Mr. B for Christmas without it being overly sentimental. What a relief it was this year to shop and not have to worry about that part!! I could purchase items like this and not have to stress about being weird (insert smile). We celebrated our little Christmas this weekend. It was a blast! Our holiday tradition we set into motion this year: sleeping under the tree on Christmas Eve. For some reason, I wasn't sure if we'd actually make it, but we did the WHOLE night on the floor and woke up to our beautiful (albeit small) tree which you can see here. To be fair, my wonderful hubby gave me, my very own sleeping bag as an early Christmas gift! Here are 7 Things I'm loving this season: 1) Our Christmas sign 2) House I made last year that lights up at night 3) Red shoes 4) Woodland creatures on our tree 5) Cookies! 6) The reason for the season, Jesus 7) My Hubby = love. Oh, life is good. 

Love, 
Bethany V.